We consistently implement a Quality Management System across all the divisions of the company, in order to constantly deliver high quality services and efficiency, in an ongoing effort of continuous improvement. Specifically, we aim to:
- Increase the value of the products/services;
- Improve processes, both in terms of efficiency and effectiveness;
- Align the quality management system with the operations of the company;
- Optimize costs;
- Understand, measure and improve customer satisfaction, internally and externally;
- Establish with the customers, co-marketing relationships and involvement, in order to achieve a lasting and profitable relationship for all parties.
Certifications
We understand the importance of implementing a standardized methodology of work in the company, according to the current standards UNI EN ISO 9001 and UNI EN ISO 3834-2.
UNI EN ISO 9001 : 2015
Rampinelli S.p.A. is certified UNI EN ISO 9001, which sets out the criteria for a quality management system. This standard includes quality management principles such as a strong customer focus, the implication of top management, a proper organization of the company processes and the importance of a continous improvement.
Using ISO 9001:2015 helps demonstrate the ability of a company to consistently provide products/services that meet customer and applicable regulatory requirements, and aims to ensure that customers get consistent, good quality products and services.
UNI EN ISO 3834 Part 2
Rampinelli S.p.A. is compliant with UNI EN ISO 3834-2, which sets out quality requirements for fusion welding of metallic materials. The standard establishes the correct method for managing the manufacturing process by welding, assures process control and the observance of product quality requirements of any type of welded construction.
Non – Destructive Testing
Non-destructive testing (NDT) identifies a group of analysis techniques used to evaluate the properties of a material, component, weld or system without materially affecting the integrity of the unit under test. These procedures are based on different methods and are usually employed to detect defects in materials and structures, either during manufacturing or while in service. Rampinelli offers multiple types of NDTs, all performed according to international standard UNI EN ISO 9712.

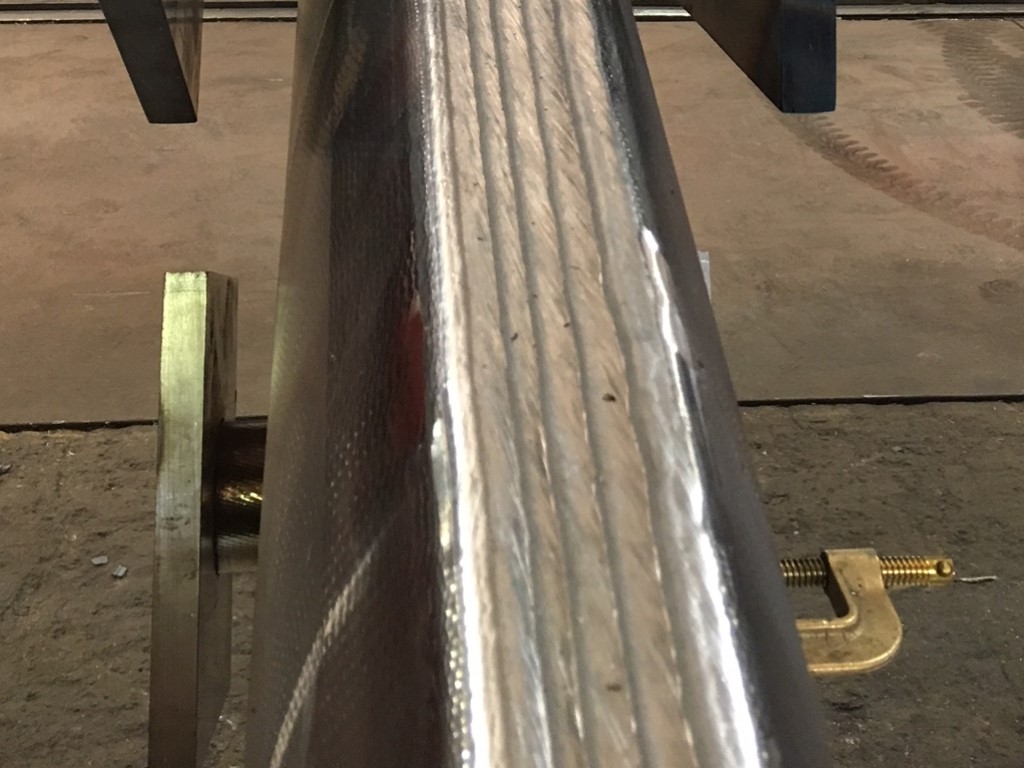
Visual Testing
Visual Testing (VT) is the most widely used of the non-destructive testings, since the majority of the other methods require the operator to perform a visual inspection of the test object. In particular, this technique involves observing the surface of the part/piece being analysed, evaluating the presence of surface defects. Discontinuities such as corrosion, physical damage, misalignment of parts and cracks can be detected by carrying out visual testing.

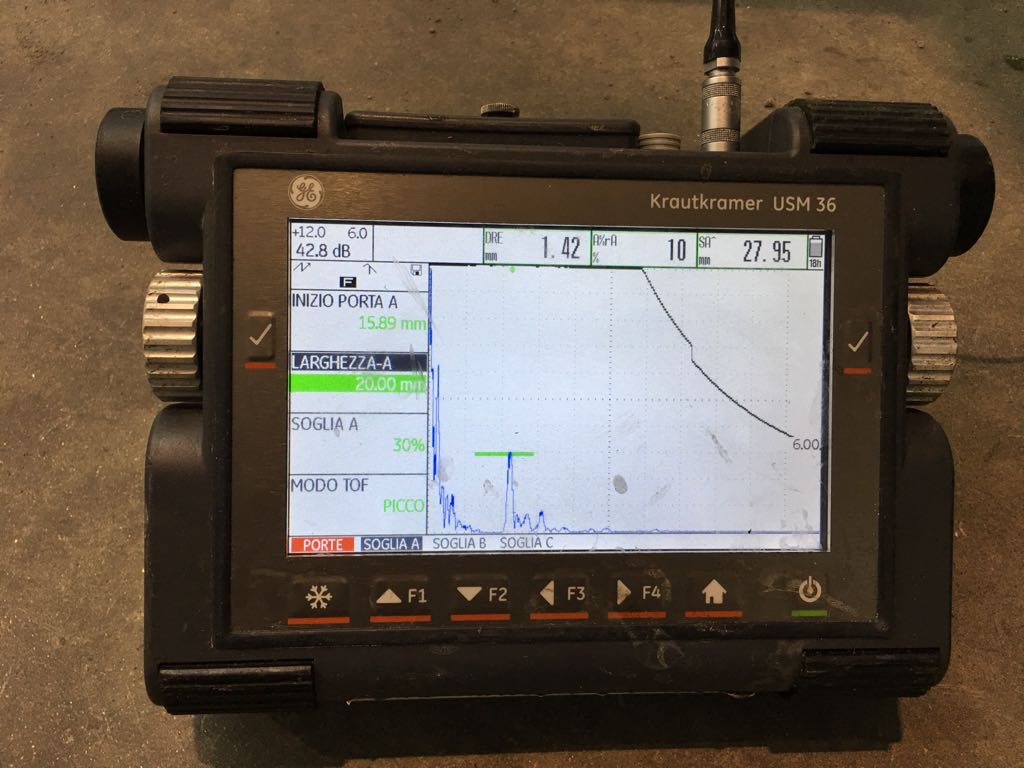
Ultrasonic Testing
Ultrasonic Testing (UT) is a family of non-destructive testing techniques based on the propagation of high frequency sound waves in the object or material tested. These waves travel through the material until they encounter a boundary with another medium (e.g. air), at which point they are reflected. The analysis of these reflections allows to find evidence of cracks or other discontinuities in the material.

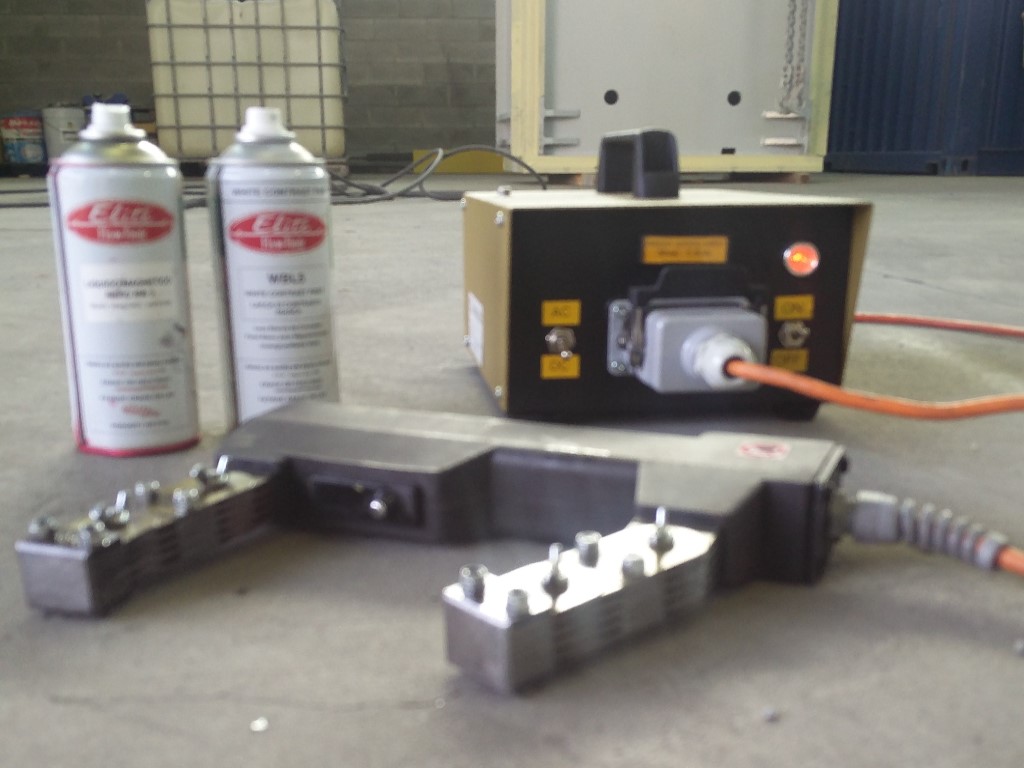
Magnetoscopic Testing
Magnetoscopic Testing (MT) is a non-destructive testing tecnique for the detection of surface and sub-surface discontinuities in ferrous materials. A magnetic field is either externally applied to the material or induced by applying an electric flux through the test piece. The presence of a defect on the surface or immediately below it generates a dispersion of the magnetic field. Small magnetic particles that had beeen sprinkled or sprayed on the test surface concentrate in this area, indicating the presence of a discontinuity.

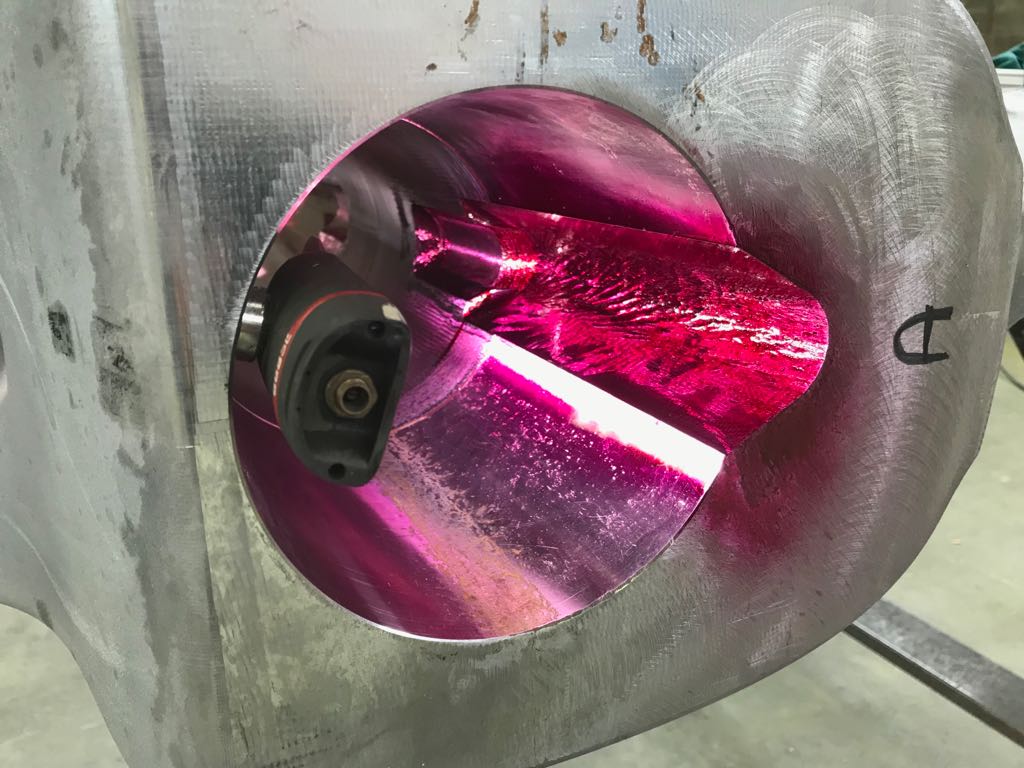
Liquid Penetrant Testing
Liquid Penetrant Testing (PT) is a non-destructive technique used to locate flaws open to the surface in mainly non-porous materials. Specifically, it’s used to detect casting, forging and welding surface defects such as hairline cracks, surface porosity, leaks in new products, and fatigue cracks on in-service components. The procedure is based on the bleedout of a colored or fluorescent dye from the flaw: very thin liquid is flown into the defect; after a period of time called the “dwell,” excess surface penetrant is removed and a chalk-like developer applied. This acts as a blotter and it draws the penetrant from the flaw to reveal its presence.
